Makeup Blending Sponges: Your Ultimate Guide to Flawless Application
Are you tired of struggling with your makeup application and dreaming of a flawless, airbrushed finish? If so, you are not alone! Many beauty enthusiasts and makeup beginners alike find themselves on a quest for the perfect tools to achieve a seamless look. One of the essential makeup tools for beginners that can transform your routine is the versatile makeup blending sponge.
In this comprehensive guide, we will delve into the world of makeup blending sponges, exploring everything from their unique features to expert beauty blender tips that will elevate your skills. You'll learn how to choose the best blending sponges on the market, practical techniques on how to use makeup sponges, and the remarkable advantage they hold over brushes. Whether you're just starting your makeup journey or you're a seasoned pro, understanding the importance of these tools can significantly impact your results.
Get ready to unlock the secrets of achieving that coveted “wow” factor in your makeup looks. With the right makeup blending sponge in hand, you'll be well on your way to mastering the art of blending - transforming what was once a tedious chore into a delightful experience. Join us as we explore the latest trends, techniques, and tips that will help you harness the full potential of your blending sponge!
```
Key Takeaways:
- Makeup Blending Sponge Types}
- Benefits of Using Blending Sponges}
- How to Properly Use a Blending Sponge}
- Maintenance and Cleaning Tips}
- Top Makeup Blending Sponge Recommendations}
Makeup Blending Sponge Types
1. Introduction to Makeup Blending Sponges
Makeup blending sponges are essential tools in the realm of makeup, providing seamless application of liquid and cream products. With various types available, understanding the differences can greatly improve your makeup techniques, especially for beginners. This section will delve into the shapes, materials, and intended uses of different makeup blending sponges.
2. Shapes of Makeup Blending Sponges
Blending sponges come in several shapes, each designed for specific applications:
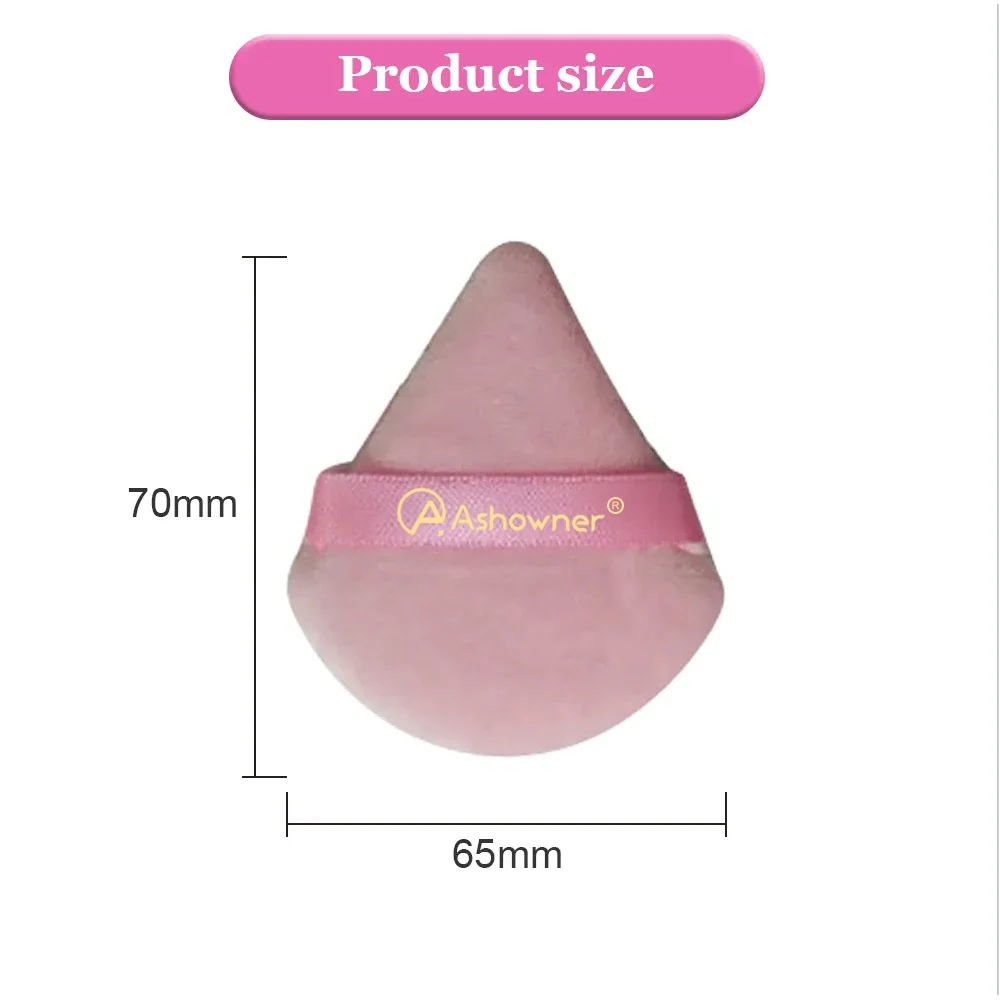
- Teardrop Shape: The most popular shape, the teardrop sponge, features a pointed tip and a rounded base. The pointed end is perfect for getting into smaller areas such as around the eyes and nose.
- Flat Edge: This design works exceptionally well for applying makeup in large areas of the face. The flat edge allows for a more controlled and even application.
- Ball Shape: The round sponges deliver a different kind of finish, suitable for buffing and blending. They are great for achieving a natural look.
3. Materials Used in Makeup Sponges
Makeup sponges are manufactured from various materials, leading to differences in application and results:
- Latex Sponges: Traditionally used in makeup application, latex sponges are known for their firm texture and durability. However, they can sometimes cause skin irritation for sensitive users.
- Non-Latex Sponges: These sponges have surged in popularity due to their hypoallergenic properties. Made from materials such as polyurethane, non-latex sponges provide a softer and more forgiving texture.
- Silicone Sponges: Though less common, silicone sponges are great for minimizing waste. They do not absorb product, allowing for a more efficient application. However, they may require a different technique for optimal blending.
4. Intended Uses for Different Sponges
Understanding the intended use of each type of sponge can help enhance your makeup routine:
- Foundation Application: The teardrop sponge is ideal for applying foundation due to its versatility in reaching every part of the face.
- Concealer Application: The pointed tip of a teardrop sponge allows for precise application of concealer on blemishes or dark circles.
- Blush and Highlighter Application: A round sponge is perfect for blending cream blushes and highlighters, giving a natural flush to the cheeks.
- Contouring: Flat edge sponges can be utilized to apply cream contour products precisely, ensuring that the contouring appears seamless.
5. Beauty Blender Tips
When using makeup blending sponges, keep these tips in mind for the best results:
- Wet Your Sponge: For a more airbrushed finish, dampen your sponge before application. The moisture helps to blend products seamlessly.
- Stippling Motion: Use a dabbing motion instead of sweeping to prevent streaks and achieve a flawless look.
- Clean Regularly: Ensure your sponges are clean to avoid bacteria buildup that can lead to skin issues.
This section offers a comprehensive overview of makeup blending sponge types, covering shapes, materials, and intended uses, while integrating the necessary SEO keywords naturally. The structured format ensures easy readability and enhanced engagement for the audience.
Benefits of Using Blending Sponges
Achieving a Seamless Finish
One of the most significant benefits of using makeup blending sponges is their ability to create a seamless finish. Unlike traditional brushes, sponges are designed to mimic the texture of skin, allowing for an even application of foundation, concealer, and other liquid or cream products. When you use a blending sponge, the dampened sponge works to diffuse the product into your skin rather than just sitting on top, resulting in a more natural appearance.
For best results, follow these quick tips:
- Wet your sponge: Always wet your blending sponge before application; this helps it expand and become softer, allowing for a more controlled and gentle touch on the skin.
- Use a bouncing motion: Avoid dragging the sponge across your face. Instead, use a bouncing motion to ensure the product is evenly blended.
- Layer gradually: For more coverage, build up your foundation layer by layer rather than applying a thick layer all at once.
Enhancing Skin Texture
Another advantage of using blending sponges is their ability to enhance the overall texture of your skin. These sponges are excellent for integrating creams and liquid formulas into the skin, helping to minimize the appearance of pores and imperfections. Because they allow for a lightweight application, they prevent the caking of makeup that often occurs when using brushes, especially in delicate areas like around the eyes and nose.
Furthermore, blending sponges can be used for:
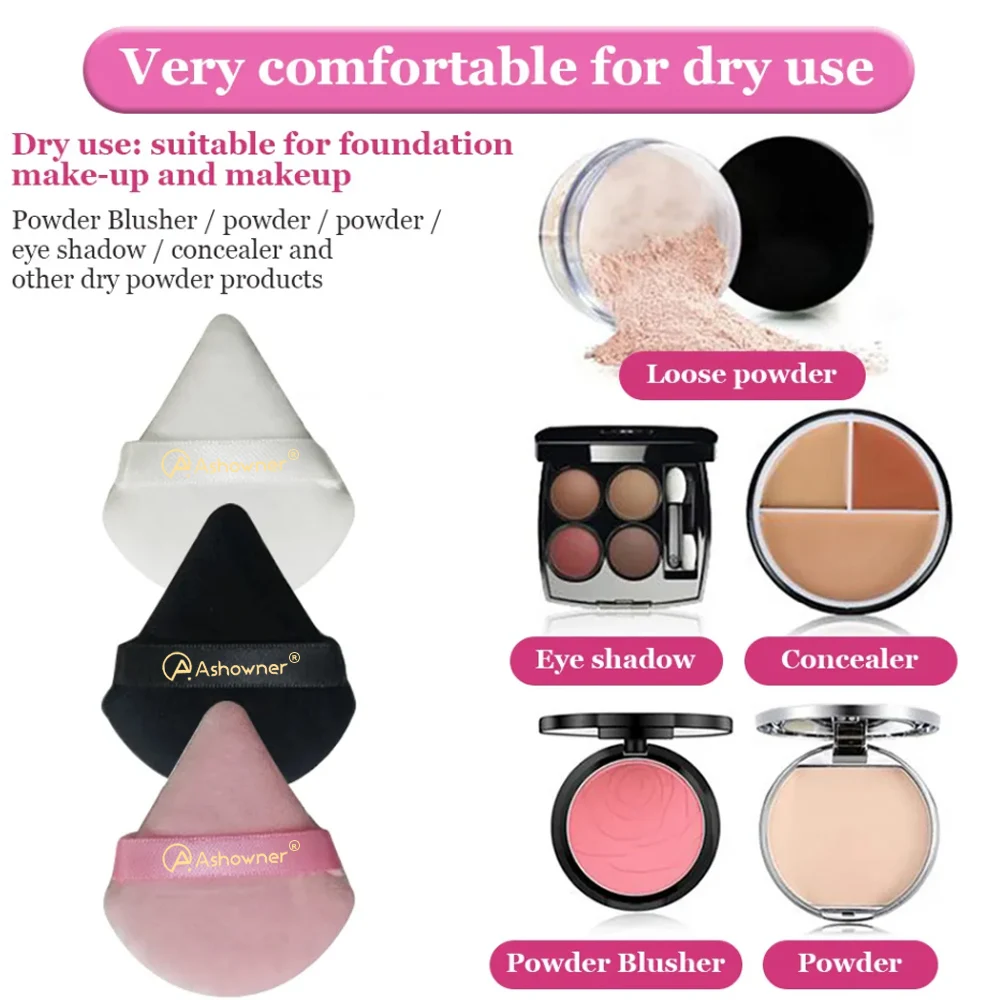
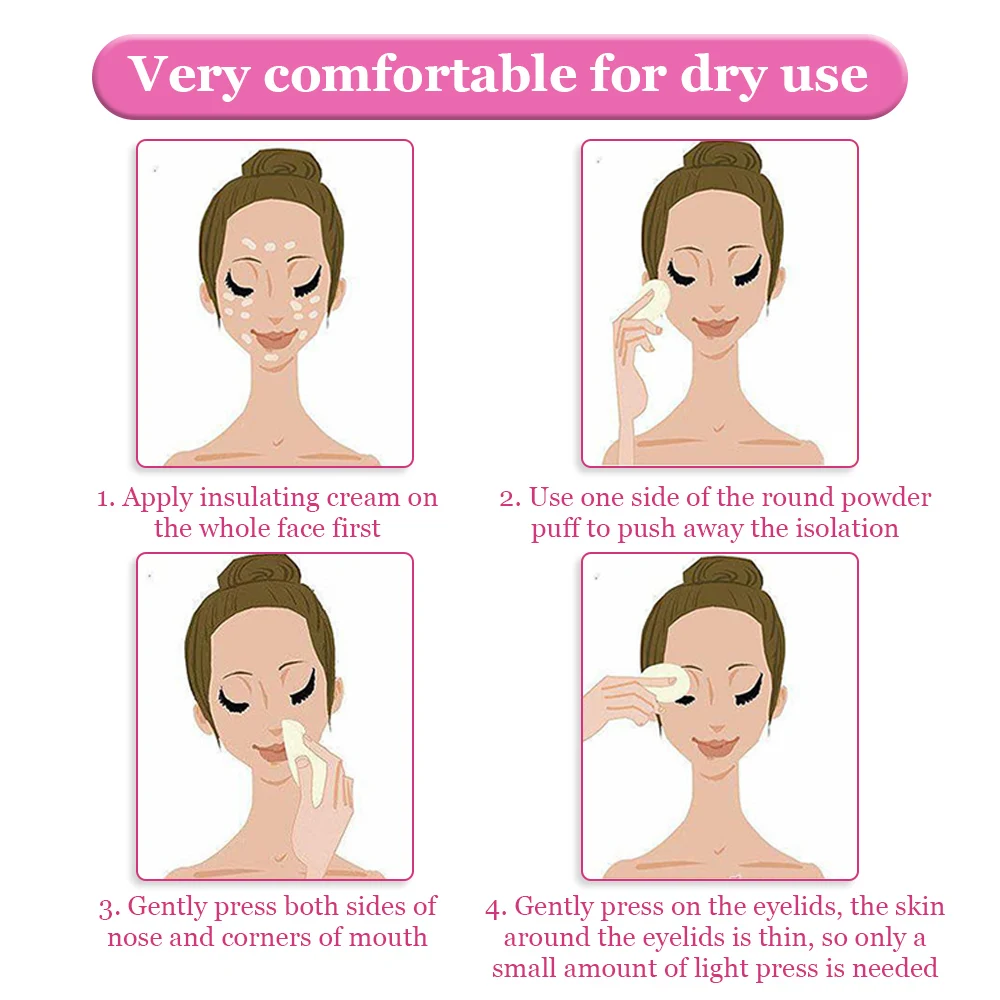
- Setting powder: After applying makeup, use a dry sponge to set your makeup with powder, ensuring a smoothed-out finish.
- Highlighting: Use a sponge to apply highlighter. The sponge helps to blend the product seamlessly so you can achieve that radiant glow.
- Correcting errors: If you’ve used too much product, a damp sponge can work wonders at correcting the overload without disturbing the makeup underneath.
Improving Application of Liquid and Cream Products
Makeup blending sponges excel in applying liquid and cream products such as foundation, concealer, and blush. They help achieve a perfected look, allowing even distribution without streaks. This is particularly important for beginners who may be learning about the best blending sponges for enhancing their makeup skills.
Here's how blending sponges improve product application:
- Better absorption: When using a damp blending sponge, it absorbs some product while ensuring the rest is evenly distributed, preventing waste and promoting a more natural look.
- Versatility: They can be used for a range of products, from liquid foundations to creamy contour products, offering you more ways to enhance your beauty routine.
- Grip and control: The unique design of makeup sponges allows for easy handling and manipulation, making them great tools for pinpoint application.
Tips for Using Makeup Sponges Effectively
To harness the full potential of your makeup blending sponges, consider these quick tips:
- Always dampen the sponge before application.
- Use different sides of the sponge for various products (e.g., the pointy end for concealer and the rounded side for foundation).
- Regularly clean your sponges to prevent bacteria buildup and improve application.
Utilizing these tips not only enhances the blendability of your makeup but also extends the life of your sponges, keeping them in prime condition for frequent use.
How to Properly Use a Blending Sponge
1. The Essential Preparation: Wetting Your Blending Sponge
Before diving into makeup application, it's crucial to prepare your blending sponge for optimal performance. The first step is to wet the sponge. This process not only expands the sponge but also prevents it from absorbing too much product, ensuring a smooth and even application.
How to wet your sponge: Run your blending sponge under lukewarm water until it is fully soaked. Gently squeeze out the excess water; it should be damp but not dripping. This will allow for better product dispersion and a flawless finish when applying foundations, concealers, or cream products.
2. Product Application Techniques
Applying makeup with a makeup blending sponge can significantly enhance your look. Here are some tips for applying various products:
- Liquid Foundation: Pour a small amount of foundation onto the back of your hand or a palette. Use the rounded end of your sponge, gently dab into the product, and then apply it to your face using a stipple or bouncing motion. This technique helps to build coverage gradually without streaking.
- Cream Blush: For cream blush, apply a small pea-sized amount onto the apples of your cheeks. Use the sponge to blend it into your skin for a natural flush. Be sure to blend towards your temples to create a lifted effect.
- Concealer: Dot the concealer under your eyes or on blemishes, then use the sponge to gently tap and blend it out. This technique will ensure an even application while maintaining a light texture.
3. Blending Techniques for Different Makeup Looks
Mastering the art of blending is fundamental to achieving a flawless makeup look. Different techniques can elevate your makeup game:
- Natural Everyday Look: Use the sponge to softly blend liquid foundation while allowing a bit of your skin to shine through. This approach gives a more natural effect.
- Full Glam: For a more dramatic makeup look, apply a heavier coverage foundation using the sponge and set it with a translucent powder. The sponge can also help blend cream contour for a sculpted appearance.
- Highlighting Techniques: When highlighting, use the pointed end of your sponge to apply cream or liquid highlighters on the high points of your face, like cheekbones, brow bone, and the bridge of your nose. Blend seamlessly for a radiant glow.
4. Layering Products for a Flawless Finish
One of the significant benefits of using a blending sponge is the ability to layer products without looking cakey. Begin with your foundation and allow it to dry slightly before applying concealer with your sponge. Layering products should be done lightly — less is certainly more.
For an added touch of coverage, use your sponge to lightly press the concealer into areas needing more attention. The key is to achieve a seamless transition without heavy buildup.
5. Final Touches: Setting Your Makeup
After completing your makeup application, using a blending sponge can also assist in setting your look. To do this effectively, dampen your sponge slightly and dip it into a setting powder.
Press the sponge onto your skin in areas where you tend to get oily or where you want your makeup to last longer. The dampness will help lock in the product without looking overly dry, giving you a fresh and luminous finish.
6. Beauty Blender Tips for Versatile Use
To get the most out of your makeup blending sponges, keep these professional tips in mind:
- Clean Your Sponge Regularly: Keeping your blending sponge clean not only extends its life but also ensures that you’re applying makeup in the most hygienic way. Use a gentle cleanser to wash it weekly.
- Experiment with Different Shapes: Blending sponges come in various shapes and sizes. Experimenting with different styles can help you discover what works best for your specific beauty needs.
- Don't Forget the Eyes: Use a smaller sponge or the pointed end of your main sponge to blend concealer on your eyelids and around your eyes for a polished look.
Maintenance and Cleaning Tips for Makeup Blending Sponges
The Importance of Keeping Your Sponges Clean
Makeup blending sponges are essential makeup tools for beginners and professionals alike. They help achieve a flawless finish by effortlessly blending foundation, concealer, and other products into the skin. However, regular maintenance and cleaning are crucial for several reasons:
- Hygiene: Dirty sponges can harbor bacteria, leading to skin irritations or breakouts.
- Longevity: Proper care enhances the lifespan of your sponges, saving you money in the long run.
- Performance: Clean sponges absorb product more efficiently, ensuring you use just the right amount of makeup.
How Often Should You Clean Your Sponges?
As a rule of thumb, it's best to clean your makeup blending sponges after every use. If you use them daily, consider a deeper clean at least once a week. Some indicators that it’s time to clean your sponges include:
- Visible stains or makeup buildup
- An odor from trapped products
- Reduced performance or excess absorption of products
Cleaning Techniques
Here are some effective ways to clean your makeup sponges:
| Cleaning Method | Description |
|---|---|
| Soap and Water Method | Soak the sponge in warm water, apply a gentle soap (preferably antibacterial), and work lather into the sponge. Rinse thoroughly. |
| Vinegar Solution | Mix equal parts of water and vinegar. Soak the sponge for 10-15 minutes, then rinse thoroughly. This helps break down makeup and kill bacteria. |
| Specialized Cleaners | There are many commercial cleaners available specifically for makeup blending sponges. Follow the manufacturer’s instructions for maximum efficacy. |
Recommended Cleaning Products
When it comes to cleaning your makeup sponges, here are some renowned products that yield excellent results:
- Beauty Blender Solid Cleanser: A gentle solid cleanser designed for sponges.
- e.l.f. Cosmetics Daily Brush Cleaner: A quick-drying spray perfect for daily use on sponges.
- Japonesque Makeup Brush Cleanser: Ideal for both brushes and sponges, helping to prolong their lifespan.
Storage Tips for Longevity
After cleaning, proper storage is essential to maintain the texture and shape of your makeup tools:
- Drying: Allow your sponges to air dry completely before storing them. Placing them in a damp area can lead to mold.
- Storage: Keep your sponges in a breathable pouch or container to prevent dust accumulation and maintain their shape.
- Avoid Direct Sunlight: Store sponges away from direct sunlight to prevent degradation of material.
Final Thoughts on Maintaining Clean Sponges
By following these maintenance and cleaning tips, you can prolong the life of your makeup blending sponges and ensure they perform at their best. Remember that cleanliness is key not only for hygiene but also for that pristine, blended look you desire. With the right cleaning products and techniques, your sponges will remain effective tools in your beauty arsenal. Embrace these practices as part of your daily beauty routine for optimal results.
Top Makeup Blending Sponge Recommendations
1. Beautyblender Original
The Beautyblender Original sponge is arguably the most recognized in the beauty world. Known for its unique shape and texture, it provides an impeccable finish for foundation, concealers, and more.
| Features | Pros | Cons |
|---|---|---|
| Made of latex-free foam | Durable and long-lasting | Higher price point |
| Reusable and washable | Creates a flawless finish | Requires additional cleaning |
| Available in various colors | Versatile shape for blending |
With its ability to create a seamless look, it's a favorite among professionals and makeup enthusiasts alike. However, some users find its price a bit steep compared to other makeup blending sponges.
2. Real Techniques Miracle Complexion Sponge
The Real Techniques Miracle Complexion Sponge offers a unique three-in-one design that caters to multiple makeup application needs.
| Features | Pros | Cons |
|---|---|---|
| Flat edge for baking | Affordable price | Density may not suit all users |
| Round sides for blending | Works well with various makeup tools for beginners | Can be less durable than others |
| Made with latex-free foam | Does not absorb too much product |
This sponge is a fantastic option for those looking for affordable and functional makeup tools. However, some users feel it might not last as long as premium brands.
3. L.A. Girl Cosmetic Sponge
This sponge is perfect for budget-conscious makeup lovers who still want quality. The L.A. Girl Cosmetic Sponge features a rounded bottom and tapered end for perfect application.
| Features | Pros | Cons |
|---|---|---|
| Soft and flexible | Very inexpensive | Durability issues |
| Versatile for foundation and concealer | Great for achieving a natural look | Can tear with heavy use |
| Latex-free material | Good for sensitive skin |
While it may not have the longevity of luxury sponges, it serves well for beginners or those who prefer low-cost options without sacrificing too much quality.
4. ecoTools Perfecting Blender
For the environmentally-conscious makeup lover, the ecoTools Perfecting Blender is a wonderful choice. It is made from recyclable materials and is designed to minimize waste.
| Features | Pros | Cons |
|---|---|---|
| Biodegradable materials | Eco-friendly option | Density might be an issue |
| Non-latex sponge | Easy to clean | Can feel soft for some applications |
| Versatile use | Great for sheer coverage |
This sponge is excellent for achieving a lightweight finish and is a perfect match for those using lighter formulas. However, some users have noted that it might be too soft for full coverage applications.
5. Juno & Co. Microfiber Velvet Sponge
Designed with a unique microfiber layer, the Juno & Co. Microfiber Velvet Sponge stands out in the beauty industry. Its texture helps in applying makeup effortlessly.
| Features | Pros | Cons |
|---|---|---|
| Microfiber technology | Feels luxurious | Specific cleaning requirements |
| Dual-ended for varied application | Highly effective in blending | Can hold onto some product |
| Latex-free | Offers a flawless finish |
This sponge is perfect for those seeking an exceptionally sophisticated makeup finish. However, it does require regular and careful maintenance to ensure it performs optimally.
Conclusion
In conclusion, makeup blending sponges have revolutionized the beauty world, offering an essential tool for achieving a flawless, airbrushed complexion. From beginners to makeup professionals, the versatility and ease of use of these sponges make them a must-have in every makeup kit. As discussed, selecting the best blending sponges for your needs can significantly enhance your makeup application techniques.
Understanding how to use makeup sponges effectively not only simplifies the makeup process but also enhances the overall finish, allowing for a seamless blend of foundation, concealer, and even cream products. With a few beauty blender tips and tricks under your belt, you can elevate your makeup game to new heights.
We encourage you to explore various types of blending sponges until you find the ones that suit your style and preferences. Don’t hesitate to share your experiences and tips with others—after all, beauty is best enjoyed in community!
Frequently Asked Questions (FAQs)
1. What are the benefits of using makeup blending sponges?
Makeup blending sponges offer a smooth application, allowing for even distribution of products while minimizing streaks and lines. They are great for achieving a natural look as they blend seamlessly with the skin.
2. Can I use blending sponges for powders?
Yes, while blending sponges are primarily designed for liquid and cream products, they can also be used with powders. Using a dry sponge can help you apply setting powder or blush for a soft finish.
3. How do I clean my makeup sponges?
To clean your makeup sponges, wet them with warm water, apply a gentle cleanser or baby shampoo, and gently rub the surface to remove makeup residue. Rinse thoroughly and squeeze out excess water before letting them air dry.
4. How often should I replace my makeup blenders?
It is recommended to replace your makeup blending sponges every 3-6 months, depending on usage and wear. Signs of wear include a loss of shape or an inability to clean thoroughly.
5. Are there any alternatives to traditional beauty blenders?
Yes, there are various alternatives such as silicone sponges, brush applicators, and cushion compacts. Each has its own benefits, so choose one that fits your makeup routine and preferences.
Achieve Flawless Makeup Looks with Our Premium Blending Sponges
Transform your makeup routine with our premium Blending Sponges at Ourlum.com. Our collection of high-quality beauty tools is designed to elevate your makeup application process and help you achieve a flawless finish every time.
Why Choose Our Blending Sponges?
- Classic Beauty Blender Sponge: Perfect for smooth, even application of foundation and concealer.
- Versatile Blender Sponge Sets: Includes various shapes and sizes for seamless blending and precise application.
- Latex-Free Materials: Ideal for sensitive skin, ensuring comfort and safety.
- Wet or Dry Application: Our sponges perform exceptionally well with both wet and dry products, offering flexibility in your routine.
Explore Our Range
- Dual-Ended Sponges: Designed for precision blending and application, making contouring and highlighting easier than ever.
- Soft Blending Sponges: Provide a natural, airbrushed look with minimal effort.
- Makeup Sponge Kits: Curated sets for professional results and comprehensive coverage.
Upgrade your makeup routine and discover the secret to perfect application with our expertly crafted Blending Sponges. Shop now at Ourlum and unlock your best makeup look yet!
Title: Makeup Blending Sponges for Flawless, Professional Finish html Copy code Makeup Blending Sponges for Flawless, Professional FinishMakeup Blending Sponges for Flawless, Professional Finish
Best Makeup Sponges for Smooth, Even Coverage
Soft, Reusable Sponges for Foundation and Concealer Application
Achieve a Smooth, Flawless Finish with Our Makeup Sponges
Professional-Quality Blending for Perfect Makeup Application
High-Quality, Reusable Blending Sponges for All Skin Types
Discover the power of a smooth, flawless finish with our premium makeup blending sponges. Whether you’re applying foundation, concealer, or cream products, these best makeup sponges ensure even and seamless coverage, giving you a professional look every time.
Our flawless blending sponges are designed with soft, skin-friendly material that’s perfect for blending makeup without streaks. Achieve smooth, airbrushed results with these versatile beauty sponges, whether you’re working with liquids, creams, or powders.
These reusable makeup sponges are easy to clean and designed for long-lasting use, making them an eco-friendly addition to your makeup kit. Perfect for all skin types, they are gentle on the skin and deliver a smooth finish for a flawless appearance.
Whether you're a professional makeup artist or a beauty enthusiast, our professional makeup sponges are a must-have tool for achieving a perfect look. Create seamless results with our high-quality foundation sponges that ensure even application every time.
Makeup blending sponges, Best makeup sponges, Flawless blending sponges, Beauty sponges, Foundation sponges, Soft makeup sponges, Professional makeup sponges, Makeup tools, Reusable makeup sponges, Smooth finish sponges,


